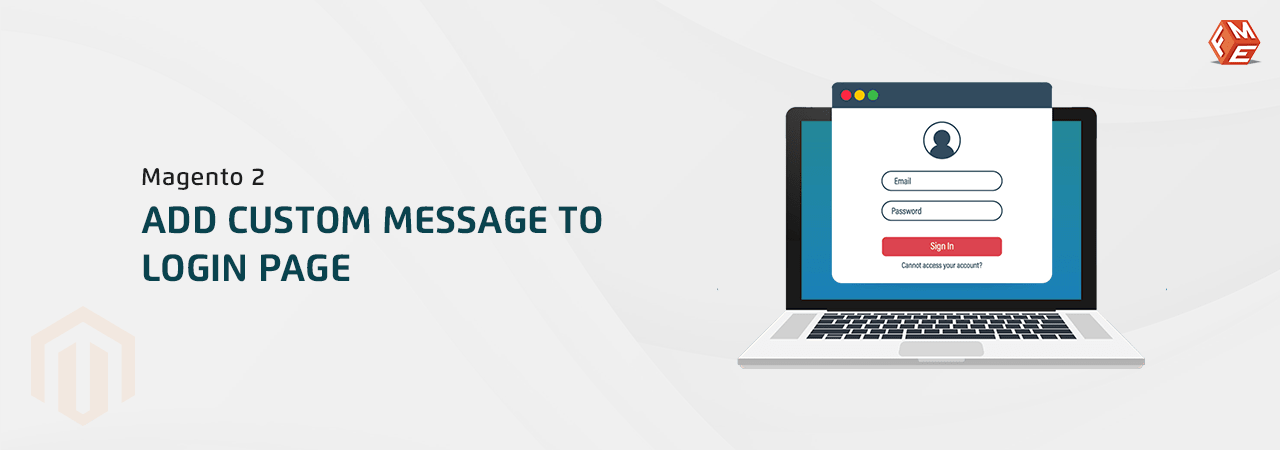
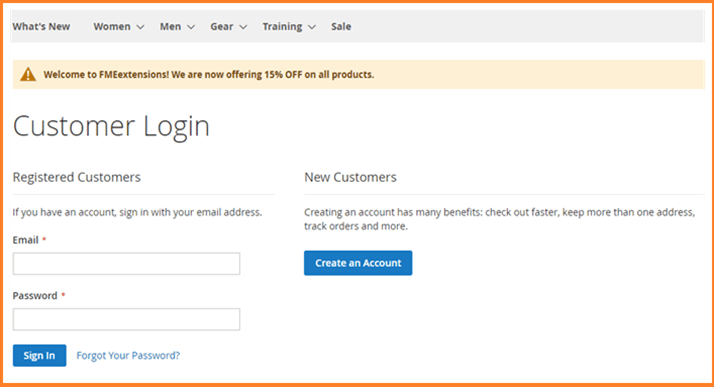
Want to notify your customers about an important update? The login page is the perfect place to display your message.
Customization is the hallmark of Magento. Although you can display a custom message on various products, categories, and CMS pages, you may prefer to display it on the login form so that customers can see it when they try to log in.
It’s pretty simple to create and display a custom message on the Magento 2 login page. Following are the steps you need to follow to do so.
 Although the above steps are pretty straightforward, please don't hesitate to contact our Support team if you still get stuck anywhere or have any questions.
Other Articles You Might be Interested in:
Although the above steps are pretty straightforward, please don't hesitate to contact our Support team if you still get stuck anywhere or have any questions.
Other Articles You Might be Interested in:
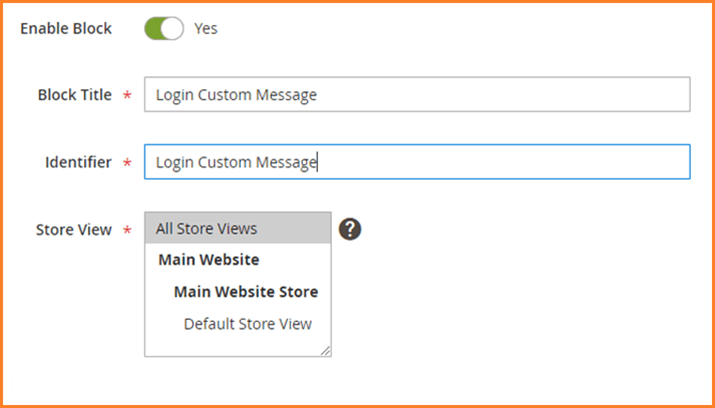
Step 1: Add a Block
- Login to your Magento 2 admin panel.
- On the left sidebar, click Content. Under Elements, click Blocks.
- Click Add New Block on the upper right.
- Fill in the fields as required. See the image as an example.
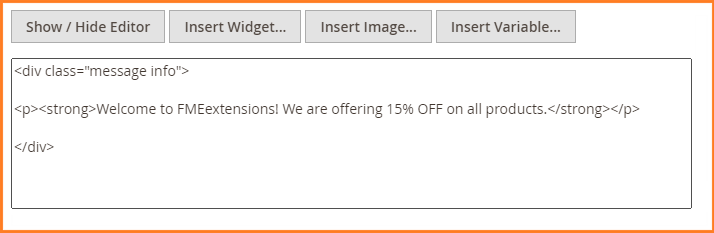
- Enter the following code in the HTML editor. You can modify the message according to your need.
- When you are done, click Save on the upper right corner.
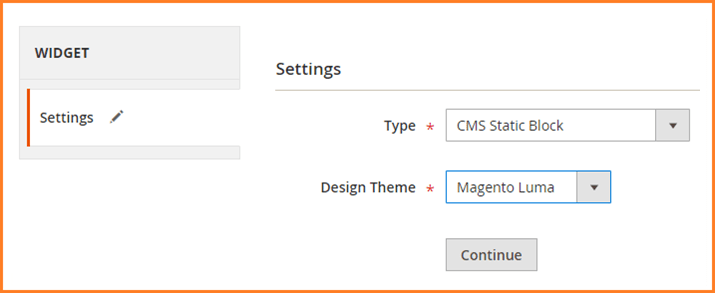
Step 2: Add a Widget
- On the left sidebar, click Content. Under Elements, click Widgets.
- Click Add Widget in the upper right corner. You will see the following page.
- In the Type dropdown, select CMS Static Block.
- In the Design Theme, select Magento Luma or the currently active theme.
- Click Continue.
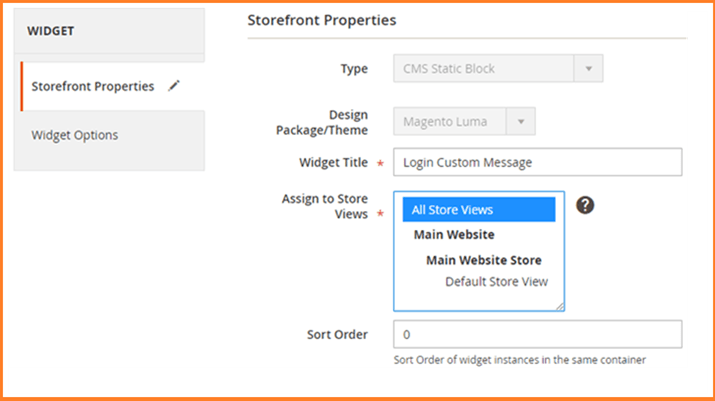
- Under Storefront Properties, fill in the fields as required. See the image as an example.
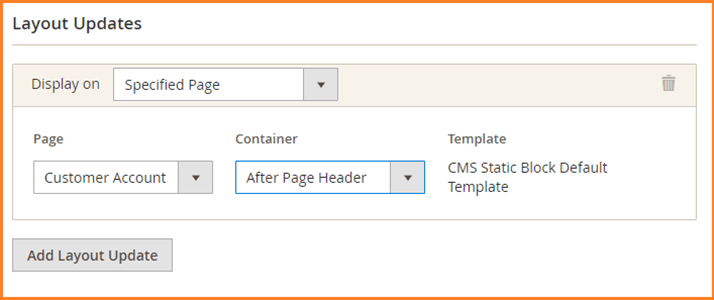
- Now, under Layout Updates, click Add Layout Update.
- Fill in the fields as below.
- In the Display on box, select Specified Page.
- In the Page dropdown, select Customer Account Login Form.
- In the Container dropdown, select After Page Header or as you prefer.
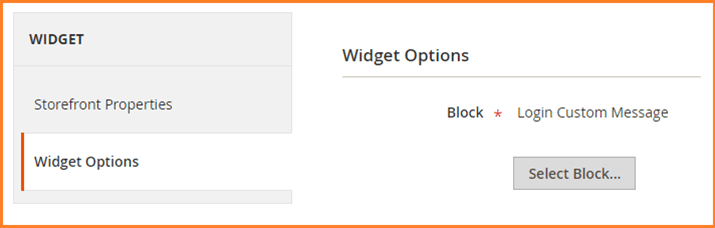
- Under the Widget Options tab on the left side, select the recently created block.
- On the upper right corner, click Save and clear the cache.
Although the above steps are pretty straightforward, please don't hesitate to contact our Support team if you still get stuck anywhere or have any questions.
Other Articles You Might be Interested in: