STEP 1 Configure Magento 2 Newsletter Subscriptions
Before you kick off and start sending newsletters to your customers, it is advisable for you to check a few configuration settings that are present by default in the mailing system. For this purpose, simply login to your admin area and navigate to Stores> Configuration.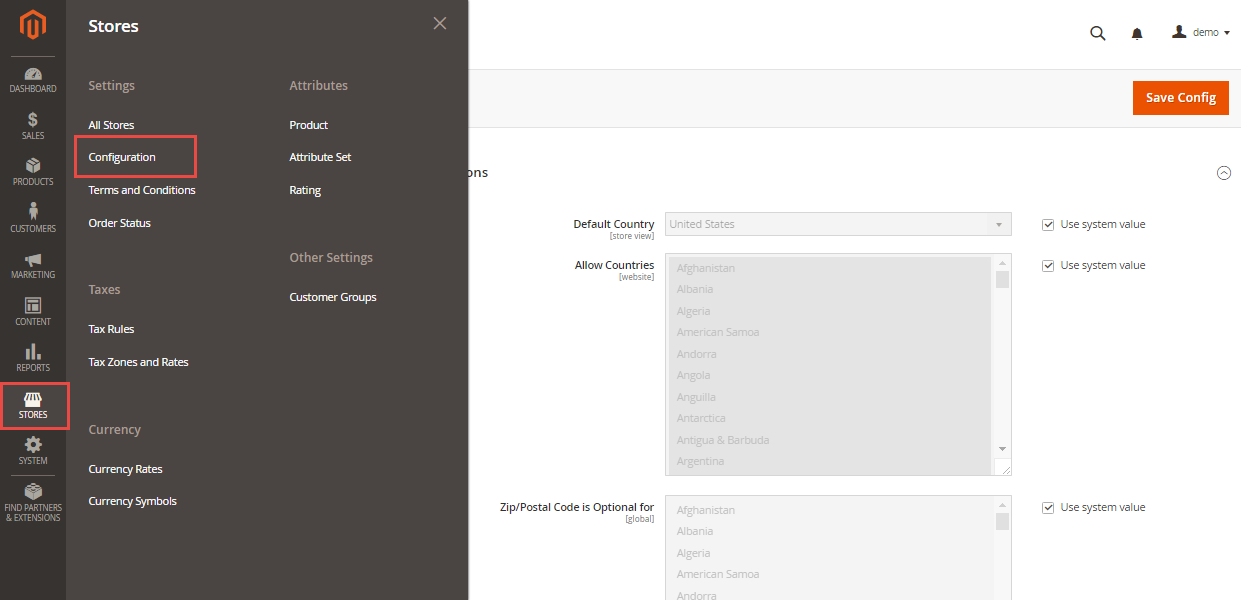 Now access the Customers>Newsletters section.
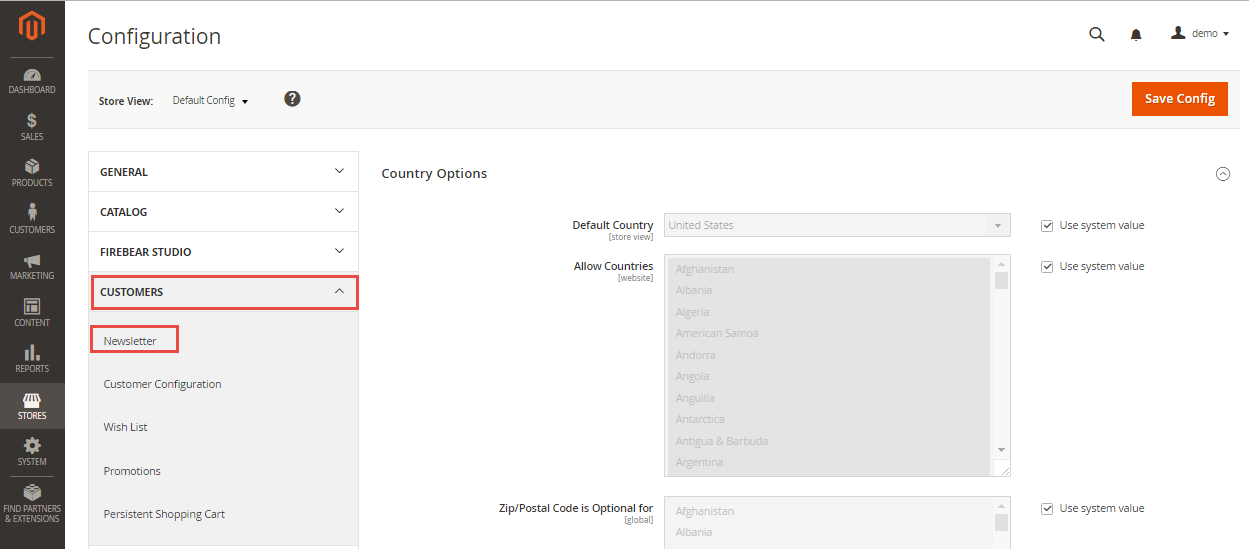 Here all the templates will appear and you will see them used in different situations regarding subscription and un-subscription.
Click to expand the Magento 2 Newsletter Subscription Options section. Then, follow the following procedure:
a. Confirm the email templates and verify the senders of the following email messages sent to subscribers:
Here all the templates will appear and you will see them used in different situations regarding subscription and un-subscription.
Click to expand the Magento 2 Newsletter Subscription Options section. Then, follow the following procedure:
a. Confirm the email templates and verify the senders of the following email messages sent to subscribers:
- Success email
- Confirmation email
- Un-subscription email
STEP 2 Create a Magento 2 Newsletter Template
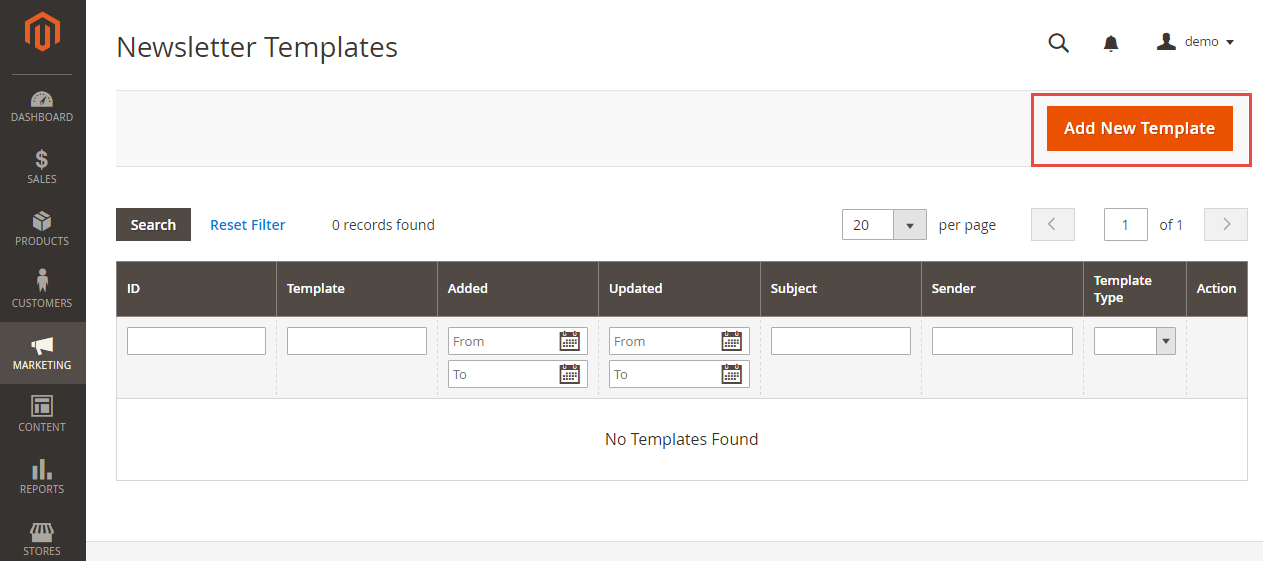
Creating a newsletter template easy all you have to do is navigate to the Marketing > Communications > Newsletter Template section from your main admin dashboard.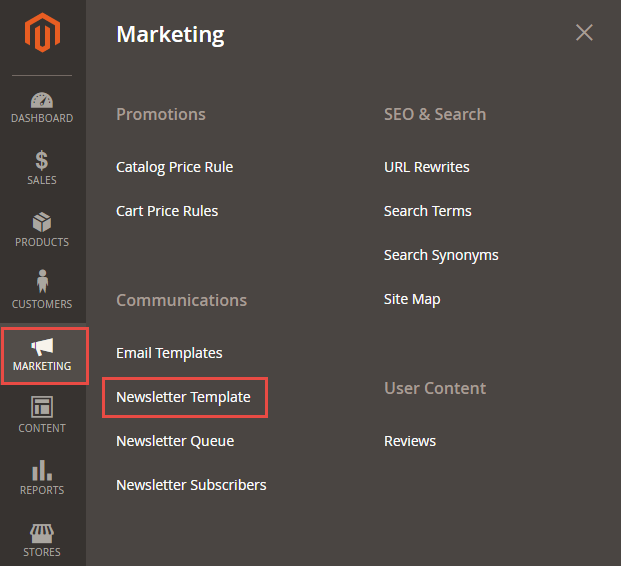 And then, just click on the Add New Template button to proceed with the configuration of the template.
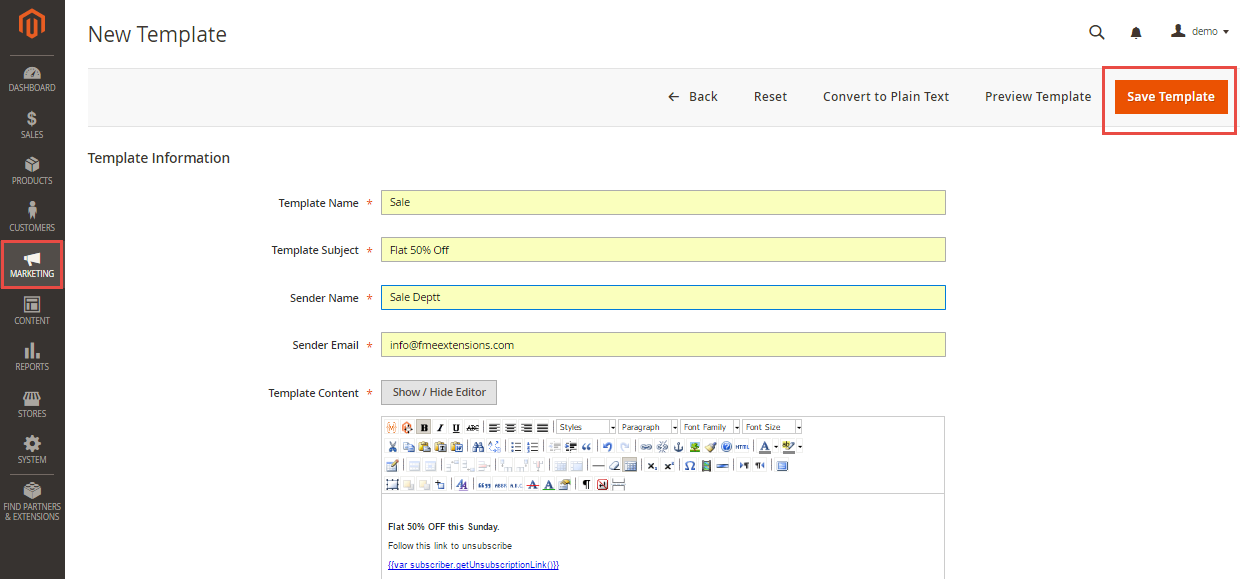
 Fill the following fields in the Template Content field, and then click on the Save Template button.
- Set Template Name for the new Magento newsletter template
- Enter Template Subject to describe the purpose of newsletter
- Enter the Sender’s Name who is sending the Magento newsletters to the subscribers
- Enter the Sender’s Email that is the email address by which the news letter is sent
- To enable the WYSIWYG editor, click on the Show/Hide Editor button at the top of Template Content field. It is flexible to edit and update the content as needed
- Enter any CSS declarations to format the content in the Template Styles field
STEP 3 Schedule and Send Newsletters
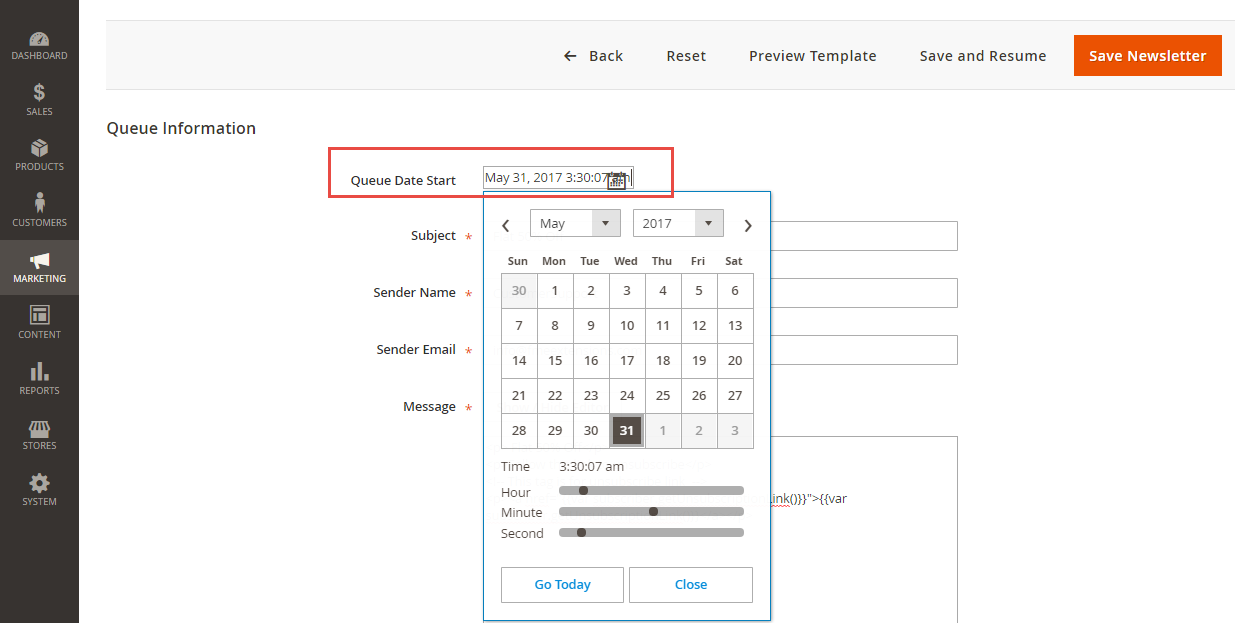
Now click on the back button to return to the Magento 2 Newsletter Templates manager page. Click on the freshly added template and from the drop-down menu select the Newsletter Queue option.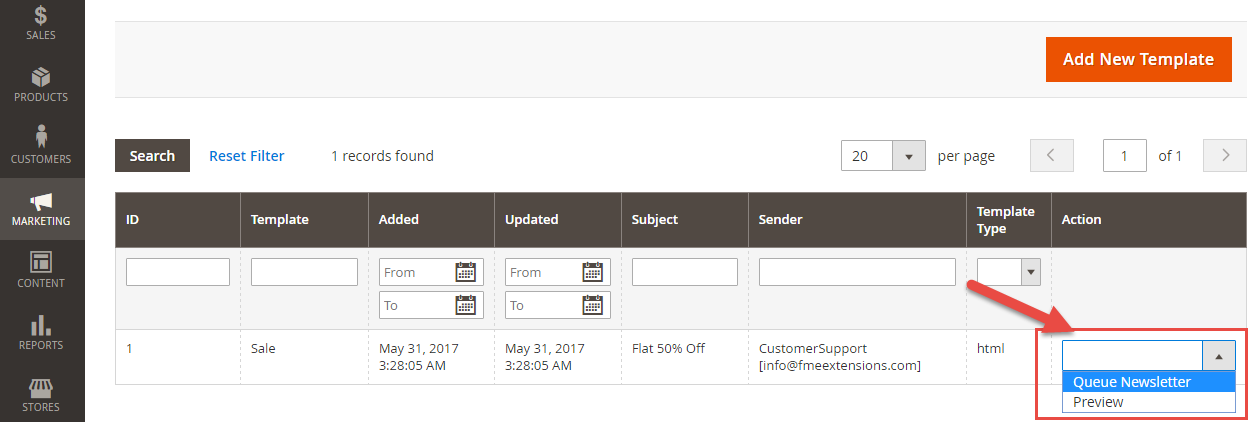 This will direct you to the queue where you can click on the calendar icon next to Queue Date Start to setup the time you want newsletter to be sent. Make use of the sliders and calendar to precisely setup the send time and press the Save Newsletter button.
STEP 4 Check Newsletter Problem Reports
If you are observing some issues with your Newsletters or if your customers are complaining that some of them haven’t received their emails, you can check for troubleshoot in the report located in Reports > Newsletter Problems Report.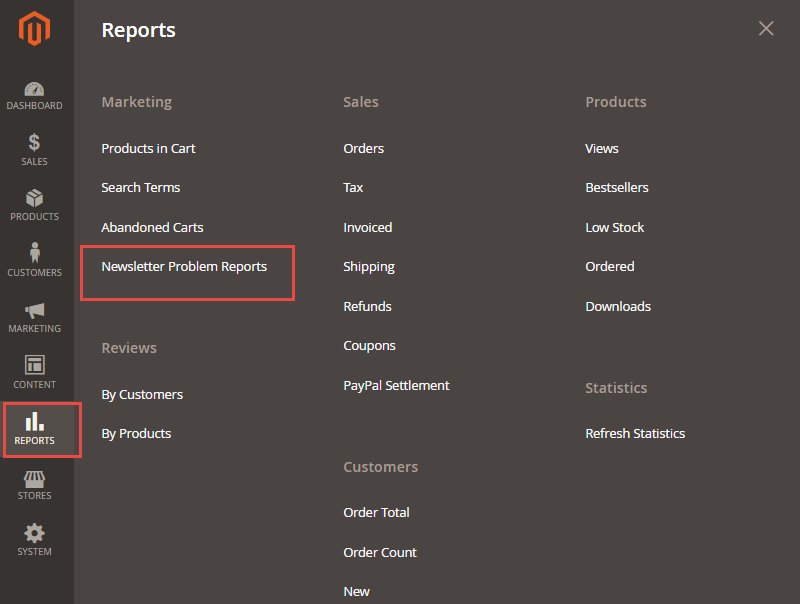 Here on this page, you will be able to see a detailed report with time and date and exact error number or text for the mails that have failed to send.
You are now fully able to manage the Magento Newsletters section of your store as well as you can provide your customers with the latest news and promotions available.
Here on this page, you will be able to see a detailed report with time and date and exact error number or text for the mails that have failed to send.
You are now fully able to manage the Magento Newsletters section of your store as well as you can provide your customers with the latest news and promotions available.
That’s it for this tutorial. If you have any issue in setting up newsletters in Magento 2, then ask our expert Magento support team