


Magento (now Adobe Commerce) is one of the most popular eCommerce stores. It offers numerous benefits over other platforms. For instance, you can manage multiple brands/stores using a single interface. Secondly, it is highly customizable, thereby allowing users to set up a store that aligns with their brand. Thirdly, it makes it easier to optimize your store. Undoubtedly, after setting up your online store, the next step is to optimize it. It is the only way to bring organic traffic and improve the user experience. More organic traffic means higher revenue. According to several reports, the 1st organic position in a Google search result generates more than 10x clicks than a website on the 10th position. Magento offers a wide range of features that address all aspects of search engine optimization – on page, off page, and technical. This article lists the top 5 tips to improve your store’s ranking in Google Search. So, what's the buzz about Magento? Well, according to the folks at BuiltWith, there are over 500,000 websites cruising along with the power of Magento. And one big reason for its success? Its magical ability to adapt! Thanks to Magento 2 (now Adobe Commerce), this platform offers a world of possibilities through extensions and custom development that can seriously level up your online store experience.

Hey there, fellow e-commerce enthusiasts! Let's talk about spicing up your online business game with some top-notch solutions. If you've been on the lookout for ways to boost your online store's efficiency, you're in luck! Enter Magento - the superhero among e-commerce platforms that's been hitting the mark.

Hey, savvy e-commerce wizards! Are you ready for a whirlwind adventure into the vibrant world of online selling? Picture this: you're about to embark on a quest to find the ultimate e-commerce platform that'll skyrocket your business to the stars. Today, we're spilling the beans on the hottest topic around – the top alternatives to Magento in 2024.

Hey there, fellow Magento store managers!
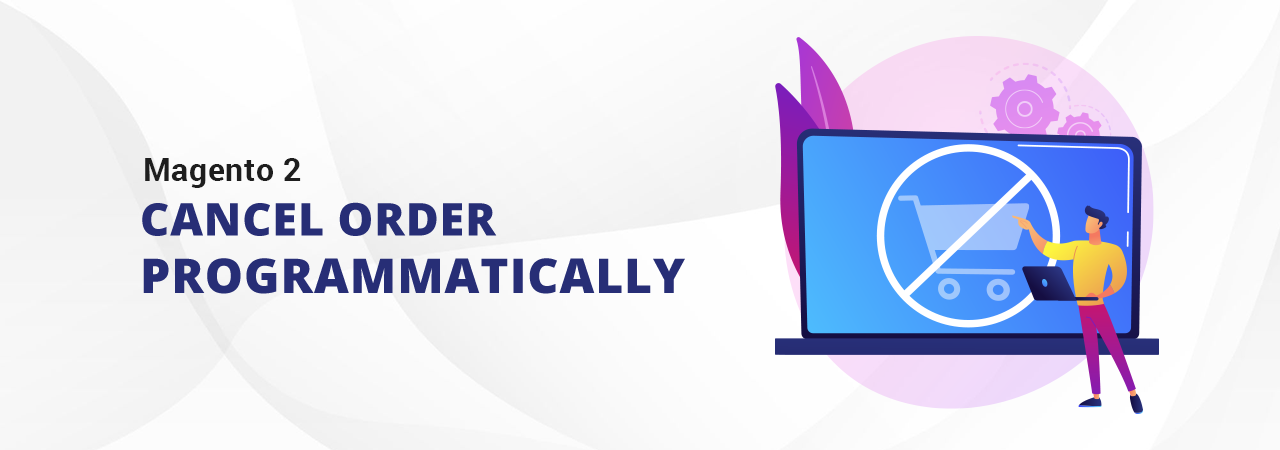
A while ago, Magento did not allow you to cancel an order. The only way to do so was programmatically. While Magento does allow you to cancel pending orders now, it is still useful to learn how to can an order programmatically in Magento 2. Why Cancel an Order? You’ll need to cancel an order for various reasons, including: 1. Customer Request In some cases, the customer may have placed the order incorrectly. For instance, they ordered the wrong product. There’s also a possibility that the customer may no longer require the product. 2. Out of Stock As a store owner, you try your best to ensure product availability. Even then there’s a chance that a customer ends up ordering a product which is out of stock. If there are no plans to restock the order or you cannot deliver it by the customer’s selected date, you have no choice but to cancel their order. If you frequently experience issues with products running out of stock, consider our Magento 2 Out of Stock Notification Extension . If a product is out of stock, customers can sign up for a notification. As soon as the product is available again, they’ll get an automatic reminder. This ensures minimal loss of sales due to product unavailability. Of course, this extension does a lot more than sending automatic alerts to customers. For more information, book a live demo . Payment Issues After getting an order, you may realise that the customer’s payment is not coming through. If the customer fails to send through the payment, order cancellation is inevitable. Shipping Issues Furthermore, shipping issues can force an order cancellation. For example, during extreme weather conditions, sellers often stop taking on orders and inform customers about potential delays. In some instances, the shipper may not deliver to the customer’s selected location. Steps to Cancel Order Programmatically in Magento 2 The code to cancel a processing order in Magento 2 includes the following two steps. Creating a controller Executing method Creating a controller <php namespace VendorName\ModuleName\Controller\Action; use \Magento\Framework\App\Action\Action class Cancelmyorder extends \Magento\Framework\App\Action\Action { //Var $orderMgt : Order Management protected $orderMgt; //Var $messageManager : Message Manager protected $messageManager; public function __construct( \Magento\Framework\App\Action\Context $context, \Magento\Sales\Api\OrderManagementInterface $orderMgt, \Magento\Framework\Message\ManagerInterface $messageManager ) { $this--->orderMgt = $orderMgt; $this->messageManager = $messageManager; parent::__construct($context); } public function execute() { // Initiate Object Manager $objectManager = \Magento\Framework\App\ObjectManager::getInstance(); // Fetch Logged in User Session $customerSession = $objectManager->get('Magento\Customer\Model\Session'); // Check is User Logged in or Not if(!$customerSession->isLoggedIn()) { $this->_redirect('/'); die; } // Get request parameters $cid = $customerSession->getCustomer()->getId(); $oid = $this->getRequest()->getParam('order_id'); // Get request parameters $order = $objectManager->create('Magento\Sales\Model\Order')->load($oid); // Fetch Order Data $orderdata = $order->getData(); // Get Order Status $order_status = $orderdata["status"]; // Get Customer Id of Order $cus_id = $orderdata["customer_id"]; // Check if logged in user & Order customer is same or not if($cid != $cus_id) { $this->messageManager->addError("Sorry, We cant cancel your order right now.") ; } // Check Order Status if($order_status == "pending") { $this->orderMgt->cancel($oid); $this->messageManager->addSuccess("Your order has been cancelled successfully.") ; } else { $this->messageManager->addError("Sorry, We cant cancel your order right now.") ; } } } Execute Method Now, call the method by passing valid id in template file. $order_id = 110; $this->cancelmyorder($order_id); You will get a success or an error message when the code is executed. Cancel Order with a Ready Made Extension If you’re looking for an instant solution, then use our ready-made extension “ Magento 2 Cancel Order ” which enables the customers to cancel orders in a single click. About the Cancel Order Extension Instead of handling order cancellations yourself, you can let the customers do it themselves through this extension. As the store owner, you can approve or reject their request. You can personalise the order cancel button to suit your individual requirements. This is shown below. The extension allows you to set up a customisable email to inform them about their cancellation request. If you wish to know more about this extension, book a live demo or contact our support team . Conclusion That’s all about cancelling order programmatically in Magento 2. This is as straightforward as it seems. If you encounter any problems with order cancellation in Magento 2 programmatically, reach out to us.
Magento offers a wide range of product management related functionality. One of these functionalities is the Magento 2 get product collection by category id. Although not a very frequently used feature, as a Magento developer, knowing it will come in handy at some point. This article discusses the get product collection by category id in Magento 2. Before doing so, let’s talk about why filtering by product ID can be useful. Importance of Magento 2 Get Product by Category ID 1. Custom Category Pages Suppose you need to create a new page that only displays products from categories A, B, and C. One option is to select each product manually. This won’t be a problem if you have very little products. But if you have 100s or 1000s of products, doing so manually can be frustrating and time consuming. By filtering products through category ID, you can easily set up a new page with the relevant products. 2. Marketing Purposes Generic marketing campaigns serve no purpose. In today’s eCommerce market, only personalised and targeted marketing campaigns create valuable. Using the Magento 2 get product by category ID functionality, you can create marketing campaigns based on specific IDs. 3. Reporting and Analytics You cannot run a successful eCommerce business without making informed decisions. By filtering products by category ID in Magento 2, you can easily create performance reports for specific product categories. This gives you detailed insight into how each category is performing and to improve sales performance. Of course, there are countless other reasons why you must know this Magento 2 functionality. Nevertheless, the above 3 points do give you an idea about its importance. So here we are with the solution to Get Product Collection Filter by Category ID using Object Manager in Magento 2. Get Product Collection from Single Category ID in Magento 2 The following is the example to get the list of products from one category with details like product name, url, price etc. in Magento 2 using Object Manager. $objectManager = \Magento\Framework\App\ObjectManager::getInstance(); $categoryId = 10; $categoryFactory = $objectManager->get('\Magento\Catalog\Model\CategoryFactory')->create(); $category = $categoryFactory->load($categoryId); $products = $category->getProductCollection() ->addAttributeToSelect('*'); foreach ($products as $product) { echo $product->getId() . "<br />"; echo $product->getName() . "<br />"; echo $product->getProductUrl() . "<br />"; } Get Product Collection from Multiple Category ID’s in Magento 2 If you want to get product collection from multiple category ids, apply the following code. $objectManager = \Magento\Framework\App\ObjectManager::getInstance(); $ids = [7,8,9]; $collectionFactory = $objectManager->get('\Magento\Catalog\Model\ResourceModel\Product\CollectionFactory')->create(); $products = $collectionFactory->addAttributeToSelect('*') ->addCategoriesFilter(['in' => $ids]); foreach ($products as $product) { echo $product->getId() . "<br />"; echo $product->getName() . "<br />"; echo $product->getProductUrl() . "<br />"; } Final Thoughts on Get Product Collection by Category ID in Magento 2 This concludes our article on getting product by category ID in Magento 2. As you can see, the steps are quite easy. If you have any questions or need help, please don’t hesitate to contact our support team . Related Articles: Load Product by SKU in Magento 2 Load Product by ID in Magento 2 Magento 2 URL Rewrites - Complete Overview Reindexing Magento 2 - Complete Guide
If you wish to personalise the user experience and ensure your store remains ahead of the competition, you need to understand about session variables. A session is the time that a user spends on a website from logging in to logging out. It temporarily stores information related to the user’s activities while they browse the site. When a user logs into a website, a session is created with unique session ID. Session variables are used to store temporary information, sometimes for retrieving and viewing data on multiple web pages. Knowing to how to retrieve this information is important if you are running an online store. This article demonstrates the code to set and unset different types of sessions (Catalog, Customer, Checkout) in Magento 2 and how to retrieve information from them. Why Are Sessions Important? Why do you need to know about Magento 2 set session variable or the Magento 2 unset session variable? For this, you need to understand the importance of sessions. 1. User Differentiation One of the top reasons you need to know about session variables is to identify the users. Whenever a session is started, the website assigns a unique ID to the user. As they interact with your website, you can easily map their journey with the session variable. 2. Personalisation The next thing you would be wondering is why would anyone want to track a visitor’s journey. Well, personalisation is the key to success in eCommerce. A session variable helps the website store user-specific information. This could include their product preferences and other online shopping behaviour. With the help of this information, websites can target the user with relevant ads and product recommendations. 3. Authentication Without session data storage, a user will need to provide authenticate at every step. It means they would need to keep adding their username and password. It can become extremely frustrating and undermine the user experience. Once the user authenticates their credentials at the start, a session helps ensure that there is no need to provide the same information repeatedly. 4. Shopping Cart Functionality In eCommerce, sessions ensure seamless management of the shopping cart. A user will add, remove, or modify products in their cart as they browse your store. Without session variables, it is not possible. Given how important the shopping cart functionality is in eCommerce, we can safely conclude that knowing about sessions is mandatory. Magento 2 Session Type The following are the different types of session classes in Magento 2. vendor/magento/module-catalog/Model/Session.php vendor/magento/module-newsletter/Model/Session.php vendor/magento/module-persistent/Model/Session.php vendor/magento/framework/Message/Session.php vendor/magento/module-customer/Model/Session.php vendor/magento/module-backend/Model/Session.php vendor/magento/module-checkout/Model/Session.php Below is the code to deal with Catalog, Customer, and Checkout sessions using Dependency Injection (DI) and Object Manager methods. Method 1: Dependency Injection The following code will call Catalog, Customer, and Checkout sessions. <?php namespace FMEextensions\HelloWorld\Block; class HelloWorld extends \Magento\Framework\View\Element\Template { protected $_catalogSession; protected $_customerSession; protected $_checkoutSession; public function __construct( \Magento\Backend\Block\Template\Context $context, \Magento\Catalog\Model\Session $catalogSession, \Magento\Customer\Model\Session $customerSession, \Magento\Checkout\Model\Session $checkoutSession, array $data = [] ) { $this->_catalogSession = $catalogSession; $this->_checkoutSession = $checkoutSession; $this->_customerSession = $customerSession; parent::__construct($context, $data); } public function _prepareLayout() { return parent::_prepareLayout(); } public function getCatalogSession() { return $this->_catalogSession; } public function getCustomerSession() { return $this->_customerSession; } public function getCheckoutSession() { return $this->_checkoutSession; } } ?> Now, we set and get sessions from a template (.phtml) file. $block->getCatalogSession()->setMyName('FME Extensions'); echo $block->getCatalogSession()->getMyName() . ' '; // output: FME Extensions $block->getCheckoutSession()->setTestData('Sample Data'); echo $block->getCheckoutSession()->getTestData() . ' '; // output: Sample Data $block->getCustomerSession()->setTestHello('Test Sample Data'); echo $block->getCustomerSession()->getTestHello() . ' '; // output: Test Sample Data You can unset these sessions using the following code. $block->getCatalogSession()->unsMyName(); $block->getCheckoutSession()->unsTestData(); $block->getCustomerSession()->unsTestHello(); From customer session, we can fetch customer information like customer name and email. // get customer data if ($block->getCustomerSession()->isLoggedIn()) { $customerId = $block->getCustomerSession()->getCustomerId(); $customerData = $block->getCustomerSession()->getCustomer(); echo $customerId . ' '; echo $customerData->getFirstname() . ' ' . $customerData->getLastname() . ' '; echo $customerData->getEmail() . ' '; print_r($block->getCustomerSession()->getCustomer()->getData()); } From the checkout session, we can fetch quote information. // get checkout session data echo $block->getCheckoutSession()->getQuoteId(); print_r($block->getCheckoutSession()->getQuote()->getData()); Method 2: Using Object Manager Use the following code to deal with session variables using Object manager. $objectManager = \Magento\Framework\App\ObjectManager::getInstance(); $catalogSession = $objectManager->get('\Magento\Catalog\Model\Session'); $customerSession = $objectManager->get('\Magento\Customer\Model\Session'); $checkoutSession = $objectManager->get('\Magento\Checkout\Model\Session'); // set session variables and their value $catalogSession->setMyName('FME Extensions'); $checkoutSession->setTestData('Sample Data'); $customerSession->setTestHello('Test Sample Data'); // print session variables value echo $catalogSession->getMyName() . ' '; // output: FME Extensions echo $checkoutSession->getTestData() . ' '; // output: Sample Data echo $customerSession->getTestHello() . ' '; // output: Test Sample Data // Unset session $catalogSession->unsMyName(); $checkoutSession->unsTestData(); $customerSession->unsTestHello(); Conclusion These are easy and straightforward ways to set and unset sessions in Magento 2. If you have any questions, please don’t hesitate to contact us . Our Magento development experts will get back to you promptly. Other Articles: How to Disable Add to Compare Button in Magento 2? How To Import and Export Product Reviews in Magento 2? How To Redirect Customers to the Previous Page After Login in Magento 2? How to Check if Customer is Logged in or Not in Magento 2?